

Lard Rendering : the quick method
This post may contain affiliate links. We do make a small commission off qualifying purchases and appreciate your support!

If you’re wondering how to quickly render lard at home, this simple slow cooker method for rendering lard makes the process easy, hands-off, and beginner friendly.
If we haven’t met yet, I’m Mindy, and I’ve been a homesteader for over a decade. Today we’re tackling one of those traditional kitchen skills that used to be completely normal but has slowly faded out of everyday cooking: rendering lard.
We will learn how to turn pork fat into beautiful, clean cooking fat for frying, baking, or seasoning cast iron. I’m going to show you my quick render method using a crock pot, which is easy and mostly hands-off.
So grab your favorite drink, turn on some music, and let’s hang out in the kitchen while to make some lard.

Hi I'm Mindy!
Homesteader, mama, and home-cook since the ’90s. I share simple, heart-filled meals, raw milk wisdom, free range chickens, and encouragement for the everyday mama. So glad you’re here friend!
Recent Posts


Yield & Prep Time
Yield: Depends on the amount of fat you start with, but a crock pot batch typically produces several jars of lard.
Prep Time: 10–20 minutes – cutting fat
Cook Time: 3–5 hours
Processing Time: 30 min – filtering and ladling into jars
Total Time: About 4–6 hours
The nice thing about using a crock pot is that most of that time is hands-off.
Grab the pretty printable recipe!
Want to save this recipe for later? Print the recipe card and file it away in your recipe box or binder for easy access whenever needed. ❤️

Kitchen Tools I Use to Render Lard
- Crock Pot or Slow Cooker
- Cutting Board
- Fine Mesh Sieve or Strainer
- Sharp knife
- Paper Towels or Coffee Filters (optional for filtering)
- Glass Jars with Lids (wide mouth jars work best)
- Ladle or Metal Measuring Cup
*I prefer wide mouth jars because lard is easy to scoop from them once it solidifies.
If you’re an Amazon shopper – here’s a Lard Rendering shopping list I curated for you!
Quick Render Lard Ingredients Needed
- Raw Pork Fat (Lard)
That’s it — no water, no salt, and no additives.
If possible, try to source your pork fat from a local farm. Clean, healthy animals produce cleaner, better-tasting fat.
Substitutions
If your butcher offers it, you can also ask for ground fat, which speeds up the process since the pieces are already small.
Things To Consider
If you’re new to cooking with traditional fats, it helps to understand the difference between a few of them.
- Lard: rendered pork fat
- Tallow: rendered beef fat
Both are wonderful cooking fats, but they behave differently.
Lard is a softer fat, which means it won’t pop out of a bowl the same way beef tallow does after rendering. Because of that, I personally prefer dry rendering for lard rather than wet rendering.
A few tips will help you get the cleanest lard possible:
- Cut fat into 1-inch pieces if it isn’t ground
- Smaller pieces melt faster and more evenly
- Scoop the clear liquid fat early for the cleanest flavor
- Avoid letting meat pieces cook too long if you want neutral-tasting lard
If fat pieces contain bits of meat or skin, those will cook down and eventually turn into cracklings, which some people love. Personally, I prefer pulling the clear lard off early to keep it mild and clean tasting.
Also remember: lard is fat, so when you clean up, wipe things down with paper towels first so it doesn’t solidify in your sink.
How to Render Lard the Quick & Easy Way
(Step-by-Step Instructions)


1. Cut the Fat
If your fat isn’t ground, cut it into roughly 1-inch chunks. Smaller pieces allow the fat to melt more evenly during the rendering process.

2. Add Fat to Crock Pot
Place the cut fat directly into your crock pot. Do not add water or salt. This method is a dry render. Fill the crock pot about halfway so there’s room for the fat to melt down.

3. Start on High
Turn the crock pot to high heat and place the lid on top. Let the fat begin melting. After about 30 minutes to an hour, check on it and stir. You should start to see clear liquid forming at the bottom.
4. Stir Occassionally
As the fat melts, give it a gentle stir every hour or so. Once the fat starts bubbling, turn the crock pot down to low heat.

Notice the fat on edges is darker; stir so it will cook evenly.

Here you can see bubbling
a lot so turning down to low.

5. Scoop Off the Clear Liquid
When you seeclear liquid fat, begin carefully ladling it out. Pour the liquid through astrainerinto glass jars. Lining the strainer with a paper towel (or coffee filter) can help catch small pieces. This early liquid is thecleanest and mildest lard.
6. Continue Rendering
Let the remaining fat continue cooking on low. More clear lard will rise to the top over time. Scoop and strain it into jars as it appears.
7. Cool Completely
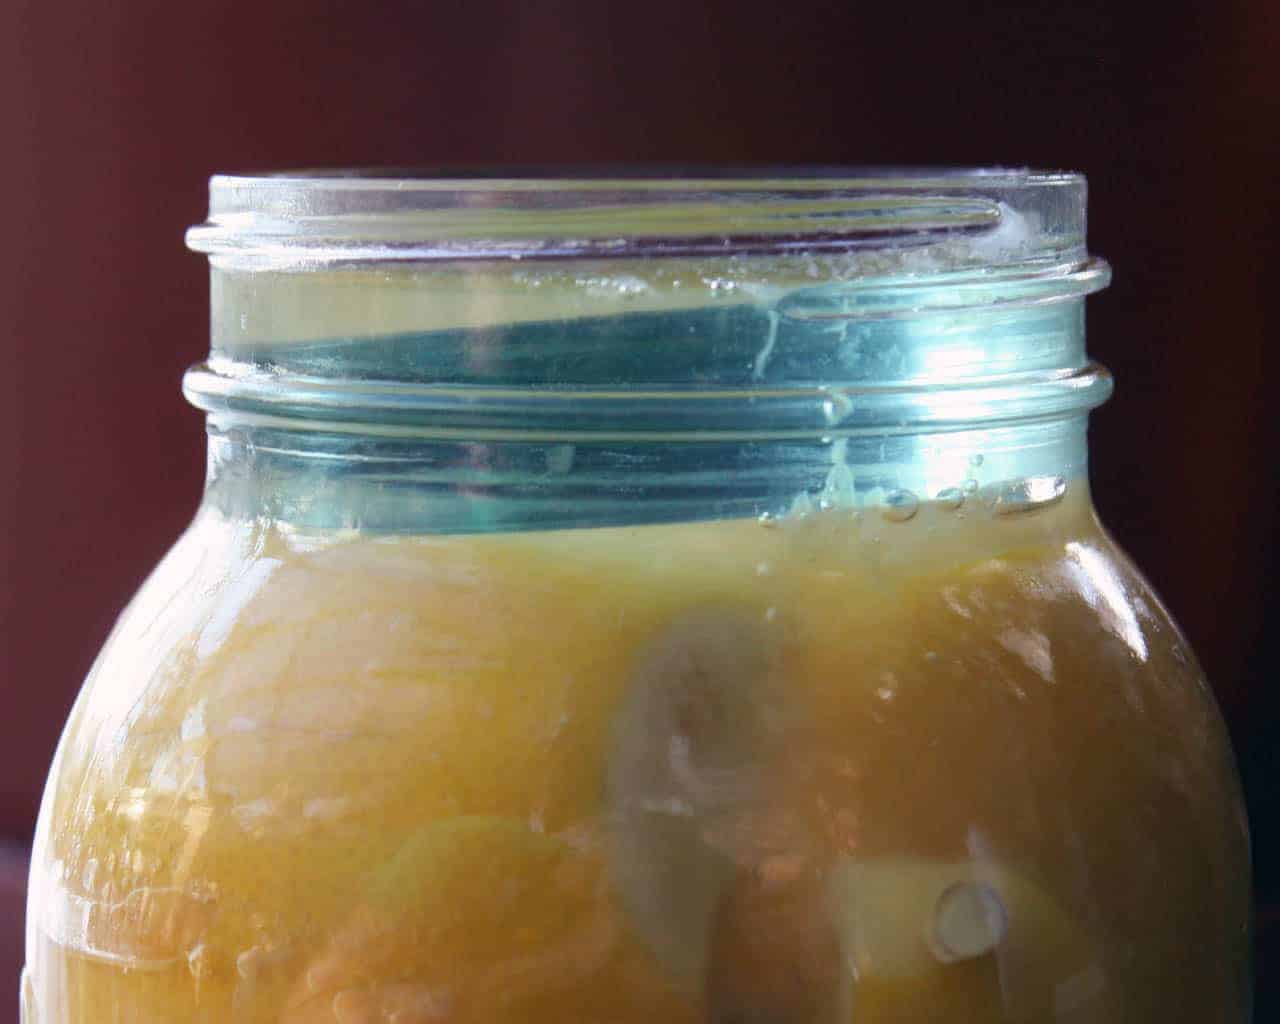
As the jars cool, the lard will change fromcleartocloudyand finally turnwhite and solid. Let jars cool on the counter before putting them in the fridge.

Still hot

Completely cooled

How to Use & Store Rendered Lard
Rendered lard is incredibly versatile in the kitchen. You can use it for frying eggs or potatoes, roasting vegetables, making flaky pie crusts, baking biscuits and seasoning cast iron cookware. Many traditional recipes rely on lard because of the rich flavor and high heat stability. I like to store my jars of lard in the back of the fridge, where they keep well without any issues. It’s also helpful to label the lids with the date so you know when each jar was made.
Once you have homemade lard in your kitchen, it pairs beautifully with classic homestead cooking! Here’s a few ideas to try skillet fried potatoes, homemade tortillas, biscuits and gravy, pie crusts, cornbread, fried chicken and there’s so many more! Lard one of those old-fashioned ingredients that can save money and is so much healthier for you than seed oil like canola, corn or vegetable oils.
Canning Favorites
Canning & Fermenting
Canning & Fermenting


Pull up a chair...
Good food brings people together. I'd love to hear how this recipe turned out for you! Share your tips, substitutions, questions, or family memories in the comments below.